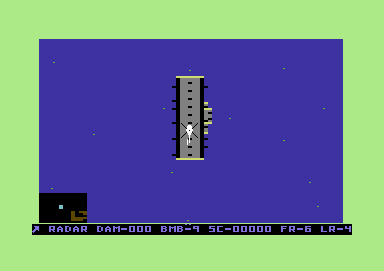
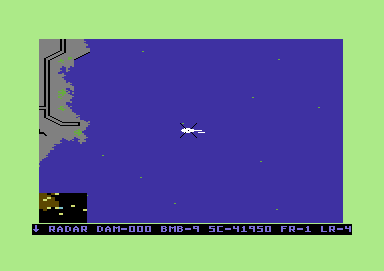
Raid on Bungeling Bay
(Broderbund - Commodore 64)
by Chris Federico
If you're after a high score, take into account that defeat is especially costly in this game. When all six war factories have been destroyed, you receive 5,000 points for each remaining helicraft (including the active one). This is the same amount that you've earned per factory.
Postponing repairs is therefore never to your advantage; when you exceed single-digit damage, immediately head for the carrier. Even if you're indifferent to the score, bear in mind that the more damage your helicraft incurs, the slower it flies. If the damage level has reached or exceeded 100, and the score doesn't concern you enough to restart the game, try to steer your wildly spinning vehicle over the nearest factory; crashing onto it will inflict substantial harm.
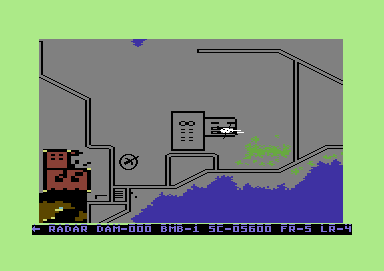
Each factory's correspondingly colored boats carry supplies that expedite the reversal of its bombardment damages, as well as the restoration of its eliminated defenses. So let the boats survive at first; they're virtually harmless and worth only 50 points apiece, whereas the guns and other installations that they help to build yield twice as many points apiece (and each plane fetches four times as many).
Excepting planes (see below), new guardians are gradually added even if you don't attack anything; but production accelerates as the number of surviving factories diminishes. Typically, by the time you've obliterated three or four, the others have improved their defenses to a dangerous degree. You'll never lack fresh targets from now on, so the boats that you happen to fly over should be shot. This will delay subsequent waves of newly dispatched threats.
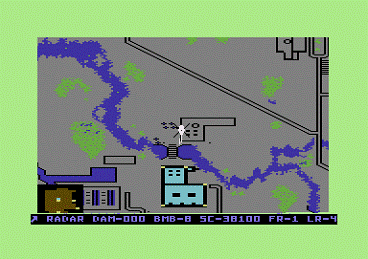
The tanks are comparable with the boats: While they wreak very little direct harm, they supplement the factories and their defenses. Due to proximity, it's immediately obvious which factory is tended by each tank. Shoot the latter before starting your bombardment, in order to slow down the plant's gradual recovery; this will often reduce the number of bombs required to achieve destruction.
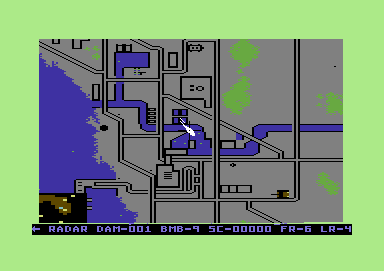
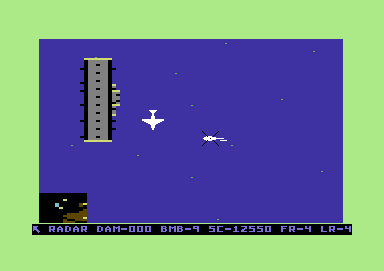
This is the first island whose factory should be bombed to bits. As it's farthest from your carrier, it's the most perilous to receive damage near; vanquish it while it's still scarcely fortified. It's just southeast of the massive island that holds two factories (note the shape on the radar). At the beginning, no factory's destruction requires more than your first load of nine bombs.
Provided that nothing else demands your immediate attention, shoot every remaining installation whose factory you've just demolished. This steadily constricts the threats, which are initially scattered. It therefore prevents nasty surprises from occurring later, when your momentum propels you near earlier shores; anti-aircraft guns that are allowed to survive, for instance, will eventually replace their straight shots with heat-seeking missiles. Even satellite dishes pose risks; they enable their factories' fighter planes to quickly locate your helicraft.
This is a fittingly immense island to make safe for flying over, so it's the second on your optimal agenda. It will be certainly be a hazardous place when less than four factories remain.
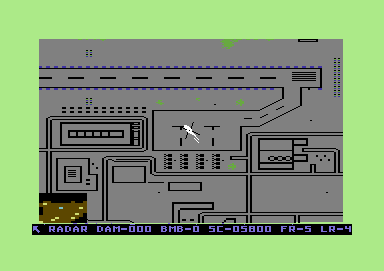
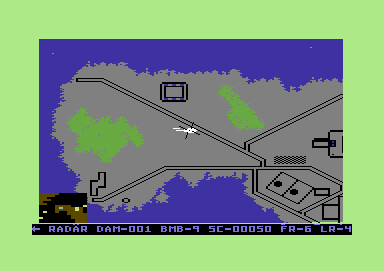
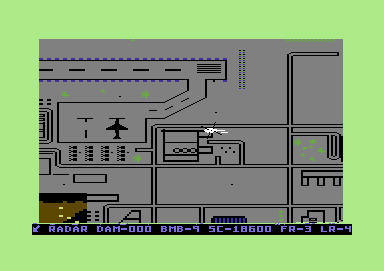
Another reason for conquering this vast isle without further delay is that you'll then be able to land safely in the pictured airfield and steal a load of bombs. If repairs are necessary, however, the carrier's your only prospect. Ensure that both factories are history before landing here; if either one survives, an anti-aircraft gun will eventually be installed just north of the airfield. When you can't move, it's a quick killer.
Also before setting down, check the radar for aircraft approaching from the west. If a plane lands on the airstrip and turns the corner before you can get your rotors spinning and lift off, goodbye. Finally, you'll still be attacked by fighter planes while immobile, so it's important not to linger after receiving your bombs. (There's a second airfield elsewhere, but only enemy planes can land on it.)
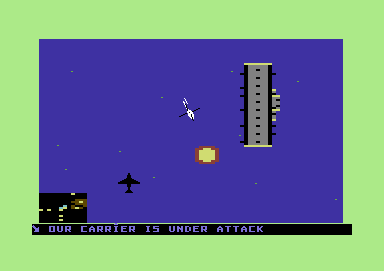
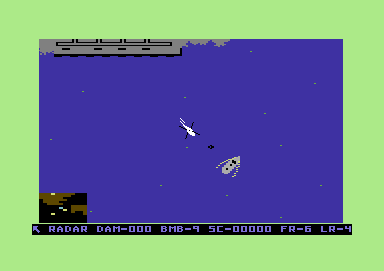
When you're warned of attacking bombers, fly to the aid of your carrier at once; if it's sunk, it will take along all of your surviving helicrafts (not to mention any hope of getting the current one repaired).
The quickest way to destroy the planes is to fly in a tight circle at low speed, firing as rapidly as possible. Keep in mind that if you hold down the fire button for more than a fraction of a second, you'll squander a bomb. (You won't be able to land on the carrier while it's in danger.)
If only one bomber appears to be attacking, watch the radar for a few seconds after destroying it; another is probably on its way.
The bomber and fighter planes are launched about a minute after you've destroyed the first factory, so they tend to show up right around the time you're finishing off the second. Nearly every attacking fighter banks around you in a wide loop, just as the bombers circle above the carrier; so engage the fighters in the same manner as described above. Rotate swiftly, fly forward very slowly, and fire unremittingly. You'll often hit a plane as it flies back into view; after you've seen one exit the screen, continue tracing it with your shots as you glance at the radar.
Flying slowly instead of hovering in place greatly reduces your chances of being hit by air-to-air missiles; they usually can't be anticipated in time to be consciously evaded. It also enables you to accelerate more quickly and fly out of the way when you notice a fighter heading straight toward you (a sure sign that it's about to fire).
Whenever you spot a reloading plane of either type, shoot it. This will keep it from plaguing you later, when it's airborne -- and when turning your attention toward it will probably be much less convenient. Even if there's nothing here as you happen by, line up with the airstrip and slightly decrease your speed as you fly along it to the west, firing constantly. The chances of hitting a plane that's just coming in for a landing are greater than they might seem.
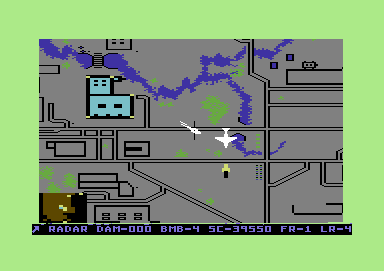
The best tactic for bombing a factory is similar to that for fighting the planes: Circle tightly above it at a low speed (it's easy to be caught unawares by an approaching fighter), repeatedly dropping bombs. You should first eliminate all present fighters and anti-aircraft guns. While your velocity's reduced, the guns' normal shells can inflict just as much damage as their heat-seekers.
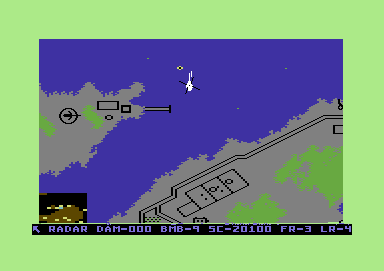
The fourth factory proposed for annihilation stands on the island just south of the last. Try to get there before the ground defenses increase; in two spots -- near the western tip and on the isolated portion seen here -- new anti-aircraft guns will soon emerge and imperil your return for repairs, as the carrier's channel runs just to the west.
If you've destroyed the first four factories quickly enough, one more can be taken out before the battleship is launched. Slowly approach one of the islands that lie west of your carrier's channel; battleship production isn't set back by the destruction of the nearby factory, so either island will do.
Now that several guns wait along the borders, the best strategy is to face one end of your chosen row of targets (discerned on the radar) and fly straight ahead, firing continuously. Maintain a speed just below your highest, so there's time to blast everything along the short route.
Overshoot the island, assessing the guns further inland as you zip by. If escape from a heat-seeker isn't suddenly required -- these can be outrun at your highest speed, as long your engines haven't been impaired by damage -- line up again, diagonally this time, and repeat the strafing run, aiming for the two guns beside the factory.
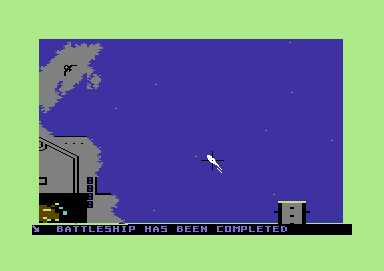
Unless you're nearly done bombing the fifth factory into oblivion, head straight for the battleship the instant you're notified that it's been completed, making a stop only if you're not carrying at least eight bombs. Given enough time, the ship will destroy your carrier. (You haven't bombed its harbored parts if you've looked forward to the 5,000 points awarded for sinking it after its launch.)
Use the radar to align your helicraft while the battleship is off-screen. Its heat-seeking missiles are fired northward, so approach from the south; they'll take time to swing toward you. Attacking from the east or west is lethal, as the vessel remains in view longer.
Fly straight ahead at top speed, dropping a bomb every time you fly over the ship. Timing is crucial; eight bombs will sink it, but it's easily missed. As long as you avoid significant damage, you'll outrun its missiles (and those from any anti-aircraft guns that you fly past). As you orbit the planet on your way to another bombing, fire incessantly to dispose of anything that happens to get in your way.
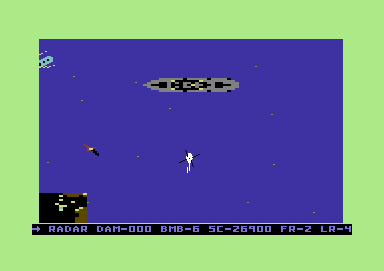
Without slowing down, swiftly adjust course between attacks, while the battleship is off-screen; it slowly moves westward. If you turn aside to protect or land on the carrier, and you can't subsequently locate the battleship, fly a safe but radar-covered distance from the northern coast of the largest island; your target eventually drifts along the shore.
Once you've destroyed all major targets but the sixth factory, you can safely keep the game going as long as you like. New threats will only appear if you give the factory time to be repaired; its first few ground and air defenses will reappear shortly after the smokestacks become active again.
You can destroy it right away, or you can put an end to all extant enemies first. The latter is most easily accomplished as follows: Bomb the factory until it stops emitting smoke, and then twice more, thus ensuring that you'll have time to hunt everywhere. Conduct a cursory search, eliminating most of your remaining adversaries (this is a great time to check the airfields). Now revisit the factory, returning it to a smokeless state if necessary; remember the two extra bombs. Finally, fly directly northward or southward, watching the radar for targets. Once you've orbited back to your starting point, head about one screen's length to the east or west (it's easiest to gauge this on the radar). Now search along this entire north/south route.
Whenever you feel that you've taken excessive time to veer after prey, fly back to the factory. Damage it as before; if there's still no smoke, bomb it only once. Now return to your most recent course. Continue the process until you've searched everywhere, and then complete the game.
You might choose to let the final factory repeatedly generate its defenses; simply cripple it each time, hunting everything down while it recovers. This inflates your score, but it has to be carried out numerous times to produce the 5,000 points you'll receive for each helicraft. Your chances of surviving the brief but myriad onslaughts of heat-seeking and air-to-air missiles should therefore be contemplated.